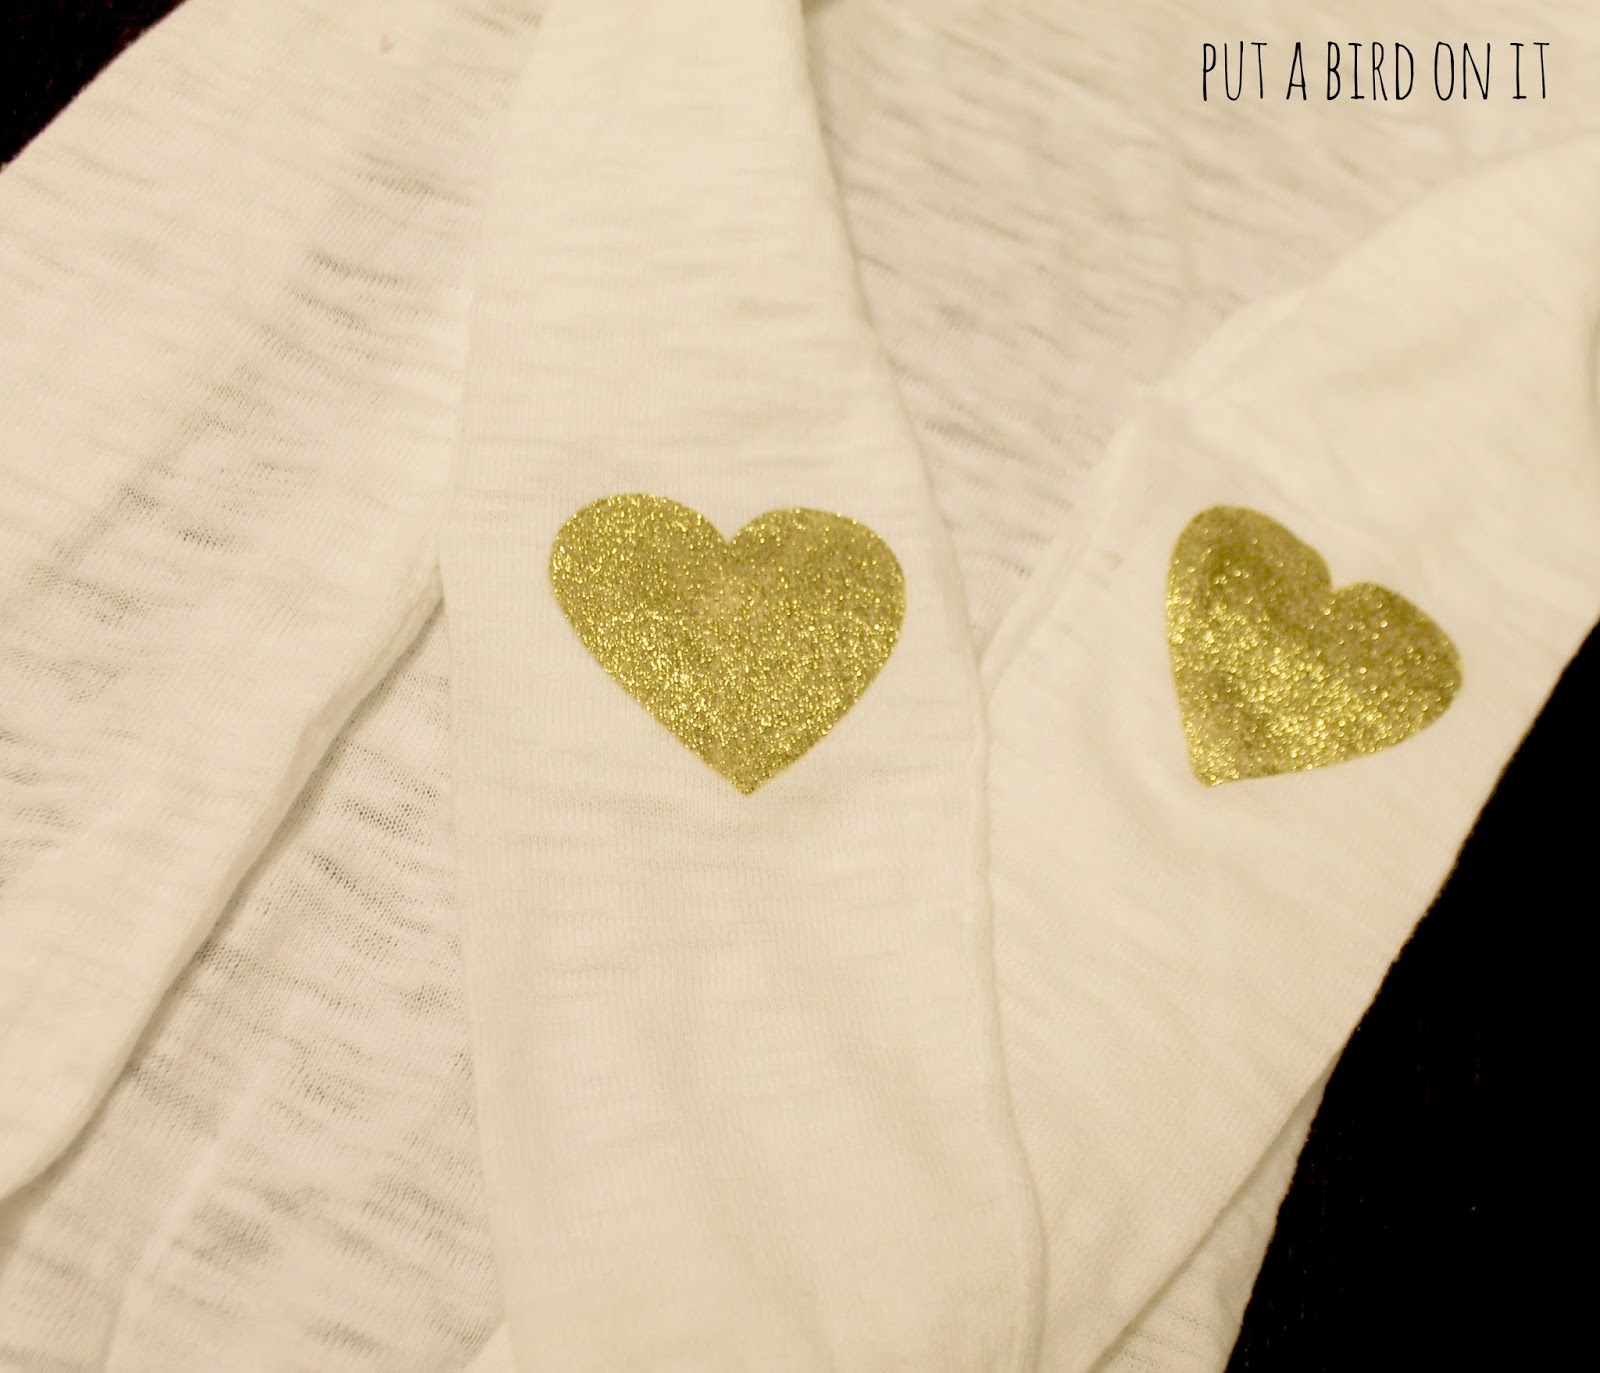
This project was SO EASY, I can't stress the EASY factor enough here. I made it in about 20 minutes the night before Build Your Blog Conference, because I wanted to wear this cute cardigan to the conference. I definitely wore my heart on my sleeve that day. :)
Here's what you'll need to make your own cute heart-on-my-sleeve shirt:
The Goods
Shirt {I used a cute cardi I got on sale at Target}
Heart Stencil {I cut mine out of vinyl using my Silhouette Cameo}
Fabric Paint {2 parts acrylic paint + 1 part fabric medium}
Foam Brush
Here is the tutorial for making a stencil using a Silhouette Cameo. I just LOVE my Cameo, guys. I use it almost every day. It's rare for me to make a project without using it in some way. I thought it'd be helpful to show how to make a heart stencil out of vinyl using the Cameo and designing it in Silhouette Studio. If you don't have a Cameo {yet!}, you can skip this part and go to the next part about painting on your shirt. You can make a stencil out of freezer paper or buy a heart stencil from the store. After seeing how easy it is with a Cameo, though, you might be headed out to get one for yourself.
*I know it seems like a lot of photos, but I swear it is SO easy. Don't let the photos scare you - I just like taking photos, ok?! ;)
How to Cut a Stencil with your Silhouette Cameo {or Portrait}
Open Silhouette Studio. Select your Page Settings in the top right toolbar. Select the size of vinyl you are cutting (12x12 for 12"; Letter for 9"). If you are using a roll of vinyl, select No Cutting Mat. If you have a piece of vinyl on a cutting mat, select the size of mat you are using.
Select the SHAPE you want to use. I, of course, chose a heart! Purchase one from the Silhouette Online Store {I used THIS ONE}, design your own, or use one from your Library. Select the Library {book icon} from the left sidebar. Use the search bar at the top to search for a HEART. Double-click your shape to place it on your project.
Resize your shape using one of the square corners {highlighted in pic}. Position where you want it to be cut.
Right-click your shape and select Duplicate. This gives you a second heart {2 sleeves = 2 hearts!}. Position them both for cutting.
Your shapes are ready for cutting! Select the Send to Silhouette button {#1 in photo}. This opens up your Silhouette Cut Settings. Adjust your rollers to match what is shown on your screen {#2}. Your roller setting is based on what you set up your Page Settings to be at the beginning. Choose the medium you are cutting {#3}. In this case, it's vinyl. When you select the product you're cutting, the Speed, Thickness & Blade settings will automatically adjust on your screen. *Make sure that the Cutting Mat box is unchecked, if you're not using a cutting mat.* Adjust your actual blade to match the setting, if needed. I always do a Test Cut {#4} before cutting. It will cut a small triangle in the top left corner of your vinyl. Check to be sure that it cut correctly. This helps you know if you need to adjust the thickness or blade setting. Now you can click CUT! The Cameo will work its magic and do the rest of the work for you. :)
Put on your shirt {or cardi} and mark where your elbows are. Linda from Craftaholics Anonymous had the fabulous idea to use WASHI TAPE for this part. I am such a fan of washi tape that I just had to use this idea in my project! Thanks, Linda. {you can view her project HERE}
Peel away the inner part of your vinyl, if you used vinyl, leaving the outer part to use as your stencil. Cut down to size.
Mix your fabric paint. Remember, it's 2 parts acrylic paint + 1 part fabric medium. I love Martha Stewart's tintable fabric medium. I've used it for SO many projects {that you can view HERE}. Craft Tip: use cupcake liners to hold your paint! I always have extra cupcake liners hanging out, wishing they could be used for something amazing, so I double up and use them to hold my paint. Super easy to toss when you're done!
Apply your stencil to where your washi tape marked the spot. *SUPER IMPORTANT: place a piece of card stock or paper underneath your stencil INSIDE the sleeve. This will ensure the paint doesn't bleed through to to the back of the sleeve! Using your foam brush, paint over the stencil. I only did one coat, but had to 'daub' the glitter paint on, so that it was an even coat.
Let dry. I always leave my projects overnight to dry. Half way through, I remove the stencil, then let the product finish drying on its own. Can't wait overnight? In a crunch for time? >> use a blow dryer to speed up the drying process!
All that's left is for your to get your cardi on. Go and do, my friends! :)
xo
**BUY A MATERNITY COUNTDOWN SHIRT HERE!**
Be the first to know about all things Put A Bird On It! Get email updates sent to your inbox {sign up >> top of blog!}


0 nhận xét:
Đăng nhận xét